Over time, a leaf blower’s carburetor can get clogged with dirt, debris, and old fuel, leading to inefficient performance and difficulty starting. Cleaning the carburetor is vital to ensure your leaf blower runs smoothly and effectively. In this blog post, we will guide you through the step-by-step process of cleaning the carburetor on your leaf blower, providing you with the knowledge and confidence to maintain your equipment and keep your outdoor spaces tidy.
Key Takeaways:
- Regular maintenance: Cleaning the carburetor on a leaf blower should be a part of regular maintenance routine to ensure optimal performance.
- Use appropriate tools: When cleaning the carburetor, make sure to use the correct tools such as screwdrivers, brushes, and carburetor cleaner to effectively remove any build-up or debris.
- Follow manufacturer’s instructions: Always refer to the leaf blower’s user manual for specific instructions on how to clean the carburetor properly to avoid damaging the equipment.

Understanding Carburetors
Basic Function of a Carburetor
With its crucial role in the engine’s internal combustion process, a carburetor is responsible for mixing air and fuel in the right proportions before delivering it to the engine for combustion. This ensures optimal performance and fuel efficiency in your leaf blower.
Signs of a Dirty Carburetor
Carburetor buildup or clogging can lead to various issues in your leaf blower’s performance. If you notice that your leaf blower is hard to start, idles roughly, or lacks power during operation, these could be signs of a dirty carburetor that needs attention
Plus, excess black smoke coming from the exhaust or a strong smell of gasoline while the leaf blower is running are additional indications of a potential carburetor problem that should not be ignored.
Preparing for Cleaning
Necessary Tools and Materials
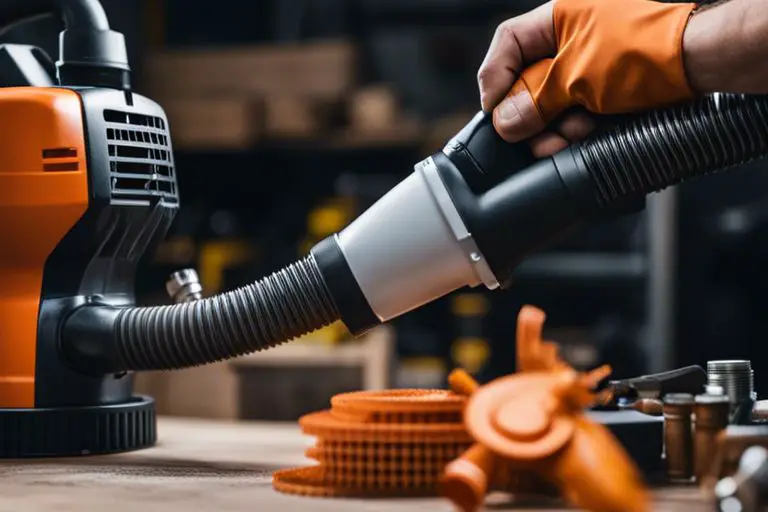
Cleaning the carburetor on a leaf blower requires a few specific tools and materials. You will need a screwdriver or wrench set, carburetor cleaner, a small brush (such as an old toothbrush), safety goggles, gloves, and a clean cloth. Make sure you have these items on hand before beginning the cleaning process.
Pre-Cleaning Preparation Steps
To ensure a successful carburetor cleaning, it is important to follow some pre-cleaning preparation steps. Start by disconnecting the spark plug to prevent any accidental starts. Empty the fuel tank and remove any fuel left in the carburetor. It’s also a good idea to consult the leaf blower’s manual for specific instructions on carburetor removal.
Preparing the leaf blower for carburetor cleaning involves gathering all necessary tools and materials and taking the necessary precautions to ensure safety. Following the pre-cleaning preparation steps will set the stage for a thorough and effective cleaning process, helping to restore your leaf blower’s performance.
Step-by-Step Cleaning Process
| Disassembling the Carburetor | Cleaning and Inspecting Components |
Disassembling the Carburetor
On starting the cleaning process, the first step is to carefully disassemble the carburetor from the leaf blower. Make sure to note the position of each component for reassembly later. Remove the screws or bolts that secure the carburetor in place and gently detach it from the engine.
Cleaning and Inspecting Components
Inspecting the components after disassembly is crucial to identify any dirt, debris, or damage that may be affecting the carburetor’s performance. Check the fuel lines, gaskets, and valves for any signs of wear or clogging. Cleaning these components with carburetor cleaner and a small brush can help restore optimal functionality.
Cleaning and inspecting the components thoroughly will ensure that your leaf blower’s carburetor is free from any blockages or malfunctions, allowing it to operate efficiently. Remember to handle the delicate parts with care and follow the manufacturer’s guidelines for reassembly.
Reassembly and Testing
Reassembling the Carburetor
For the reassembly of the carburetor on your leaf blower, carefully follow the reverse order of disassembly. Ensure all parts are properly placed and secure, including gaskets and seals. Tighten any screws or bolts to the manufacturer’s specifications to prevent any leaks or malfunctions.
Testing the Leaf Blower
Carburetor testing is a crucial step after reassembly. Start the leaf blower and let it run for a few minutes to ensure the carburetor is functioning correctly. Check for any unusual noises, vibrations, or smoke. Adjust the carburetor settings if necessary to achieve optimal performance.
Testing the leaf blower after cleaning the carburetor is imperative to ensure that the engine runs smoothly and efficiently. Make sure to test the throttle response and idle speed to confirm that the adjustments made during cleaning are effective. Any irregularities should be addressed promptly to prevent further damage to the leaf blower.
Maintenance Tips
Many leaf blower users often overlook the importance of regular maintenance, leading to decreased performance and potential breakdowns. Here are some important tips to keep your leaf blower in top condition:
- Regularly clean the air filter to ensure proper airflow.
- Check and replace spark plugs when necessary.
- Inspect and clean the carburetor to prevent clogs.
- Use fresh fuel and oil mixture to prevent buildup and maintain engine health.
- Store the leaf blower in a clean and dry area to avoid corrosion.
Regular Maintenance Schedule
Maintenance is crucial to the longevity of your leaf blower. Set a regular schedule to clean or replace air filters, spark plugs, and to inspect the carburetor for any signs of wear or buildup. By staying on top of these tasks, you can ensure your leaf blower operates efficiently and lasts longer.
Preventing Future Buildup
The best way to prevent future buildup in your leaf blower’s carburetor is to use high-quality fuel and oil mixture, as well as storing the equipment properly. Avoid leaving fuel in the tank for extended periods, as it can lead to residue buildup that can clog the carburetor. Additionally, consider using a fuel stabilizer if the leaf blower will be stored for an extended period of time.
To wrap up
Presently, cleaning the carburetor on a leaf blower is a crucial maintenance task that should not be overlooked. By following the proper steps outlined above, you can ensure that your leaf blower continues to run smoothly and efficiently. Remember to always prioritize safety when performing maintenance on any power equipment, including wearing protective gear and working in a well-ventilated area. Regularly cleaning the carburetor will help extend the life of your leaf blower and keep it performing at its best for years to come.
FAQ
Q: Why is it important to clean the carburetor on a leaf blower?
A: Cleaning the carburetor on a leaf blower is important to ensure that the engine runs smoothly and efficiently. A dirty carburetor can lead to starting problems, poor performance, and even engine damage.
Q: How often should the carburetor on a leaf blower be cleaned?
A: It is recommended to clean the carburetor on a leaf blower at least once a year, or more frequently if the leaf blower is used frequently or in dusty conditions.
Q: What are the signs that indicate the carburetor on a leaf blower needs cleaning?
A: Signs that the carburetor on a leaf blower needs cleaning include difficulty starting the engine, rough idling, stalling, loss of power, and black smoke coming from the exhaust.
Q: How can I clean the carburetor on a leaf blower?
A: To clean the carburetor on a leaf blower, you will need to remove it from the engine, disassemble it, and soak it in carburetor cleaner. Use a small brush to clean any dirt or debris, reassemble the carburetor, and then reinstall it on the engine.
Q: Are there any precautions to keep in mind while cleaning the carburetor on a leaf blower?
A: Yes, when cleaning the carburetor on a leaf blower, make sure to work in a well-ventilated area, wear gloves and safety goggles, and follow the manufacturer’s instructions. Avoid using excessive force when disassembling or reassembling the carburetor to prevent damage.