#LeafBlower maintenance is vital for optimal performance. A clean carburetor ensures smooth operation and prevents engine issues. Follow these simple steps to effectively clean the carburetor on your leaf blower, keeping it running efficiently for your outdoor tasks.
Key Takeaways:
- Regular maintenance: Cleaning the carburetor of your leaf blower should be part of your regular maintenance routine to keep it running smoothly.
- Use the right tools: Make sure to use the appropriate tools and cleaning solutions to effectively clean the carburetor without causing damage.
- Follow manufacturer instructions: Always refer to the manufacturer’s instructions for your specific leaf blower model to ensure proper cleaning techniques.
Preparing for Cleaning
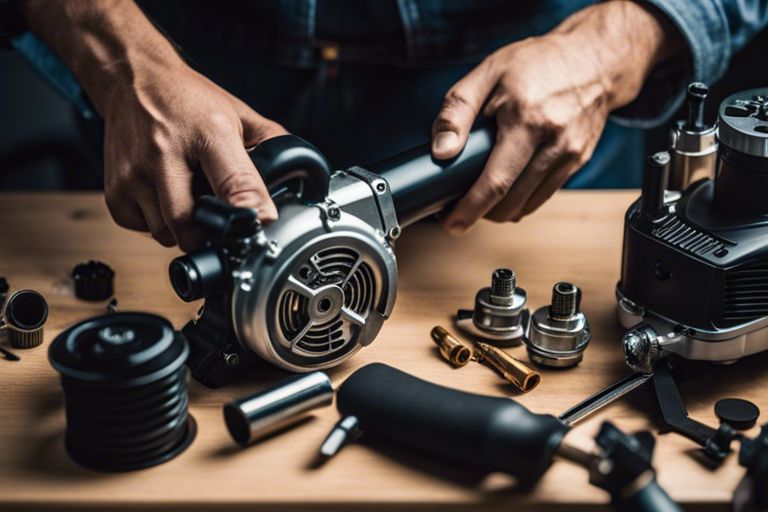
Gathering Necessary Tools and Materials
To effectively clean a carburetor on a leaf blower, you will need a screwdriver, carburetor cleaner, compressed air, safety goggles, gloves, and a clean cloth. These tools and materials will help you disassemble and clean the carburetor components thoroughly.
Safety Tips for Working with Small Engine Components
You should always prioritize safety when working with small engine components. Wear safety goggles and gloves to protect your eyes and hands from any splashes or sharp edges. Make sure to work in a well-ventilated area to avoid inhaling any fumes from the cleaning agents.
- Avoid smoking or open flames when working with carburetor cleaner.
- Always work in a well-lit area to see small components clearly.
Some additional safety tips for working with small engine components include avoiding wearing loose clothing that could get caught in moving parts and ensuring the equipment is turned off and cool before starting any maintenance work.
- Recognizing the importance of following the manufacturer’s guidelines for maintenance and cleaning.
With these safety tips in mind, you can proceed to clean the carburetor on your leaf blower effectively and safely. By taking precautions and being mindful of potential risks, you can maintain your equipment in top condition for optimal performance.
Disassembling the Carburetor
Removing the Air Filter and Intake Manifold
Even before attempting to disassemble the carburetor, start by removing the air filter and intake manifold to access the carburetor easily.
Taking Apart the Carburetor Bowl and Jets
Some carburetors have a bowl that can be removed by unscrewing it from the carburetor body. Inside the bowl, you will find various jets that need to be taken apart carefully.
Filter: It is crucial to clean the jets thoroughly and ensure there are no obstructions that can affect the carburetor’s performance.
Cleaning the Carburetor Components
Soaking and Scrubbing the Parts
Keep a container handy to soak the carburetor components in a carburetor cleaning solution. This will help remove built-up grime and varnish. Use a small brush to scrub the parts gently to ensure all debris is removed.
Using Compressed Air to Remove Debris
Little pieces of debris can get lodged in tiny crevices within the carburetor. Using compressed air can help dislodge and remove these particles effectively. Be sure to wear safety goggles and blow air in short bursts to prevent damage to delicate components.
You may need to disassemble the carburetor to access hard-to-reach areas. Once the parts are exposed, use the compressed air to blast away any remaining debris. This method is especially useful for intricate pieces that cannot be easily reached with a brush or cloth.
Tips for Cleaning Delicate Areas
- Be gentle when cleaning small or intricate parts to avoid breakage.
- Use a toothbrush or cotton swab to clean hard-to-reach spots carefully.
Little carburetor components can be fragile, so take care when scrubbing or using compressed air. The last thing you want is to break a crucial piece during the cleaning process. The key is to be patient and meticulous in your approach.
Reassembling and Reinstalling the Carburetor
Once again, after cleaning the carburetor components thoroughly, it’s time to put everything back together and reinstall the carburetor.
Factors to Consider When Reassembling the Carburetor
- Make sure to refer to the manufacturer’s manual for the correct assembly instructions.
- Check for any worn-out gaskets or O-rings that may need replacement.
- Ensure that all components are properly aligned before tightening any screws or bolts.
Installing the Carburetor and Air Filter
Factors to consider when installing the carburetor and air filter include making sure they are securely fastened and properly connected to the engine.
There’s a particular method to reinstalling the carburetor and air filter to ensure a proper seal and optimal performance. The air filter should be clean or replaced if necessary before installation. The carburetor should be securely attached to the engine with all bolts and linkage properly connected. Following these steps will help maintain the proper functioning of your leaf blower.
To wrap up
Upon reflecting on the process of cleaning a carburetor on a leaf blower, it is clear that regular maintenance is key to keeping your equipment running smoothly. By following the detailed steps outlined in this guide, you can ensure that your carburetor is free of debris and your leaf blower is in optimal working condition. Remember to always consult your leaf blower’s manual and exercise caution when working with small engine components. With proper care and attention, your leaf blower will continue to serve you well for years to come.
FAQ
Q: Why is it important to clean a carburetor on a leaf blower?
A: Cleaning the carburetor on a leaf blower is important to ensure that the engine runs smoothly and efficiently. Over time, carburetors can become clogged with dirt, debris, and old fuel, which can lead to improper engine performance.
Q: How often should I clean the carburetor on my leaf blower?
A: It is recommended to clean the carburetor on your leaf blower at least once a year, or more frequently if you use it regularly or notice performance issues.
Q: What tools do I need to clean a carburetor on a leaf blower?
A: To clean a carburetor on a leaf blower, you will need a screwdriver, carburetor cleaner, gloves, safety glasses, compressed air, and a clean rag.
Q: Can I clean a carburetor on a leaf blower myself, or do I need professional help?
A: You can clean a carburetor on a leaf blower yourself, as long as you follow the manufacturer’s instructions and have the necessary tools. If you are unsure or uncomfortable doing it yourself, you can seek professional help.
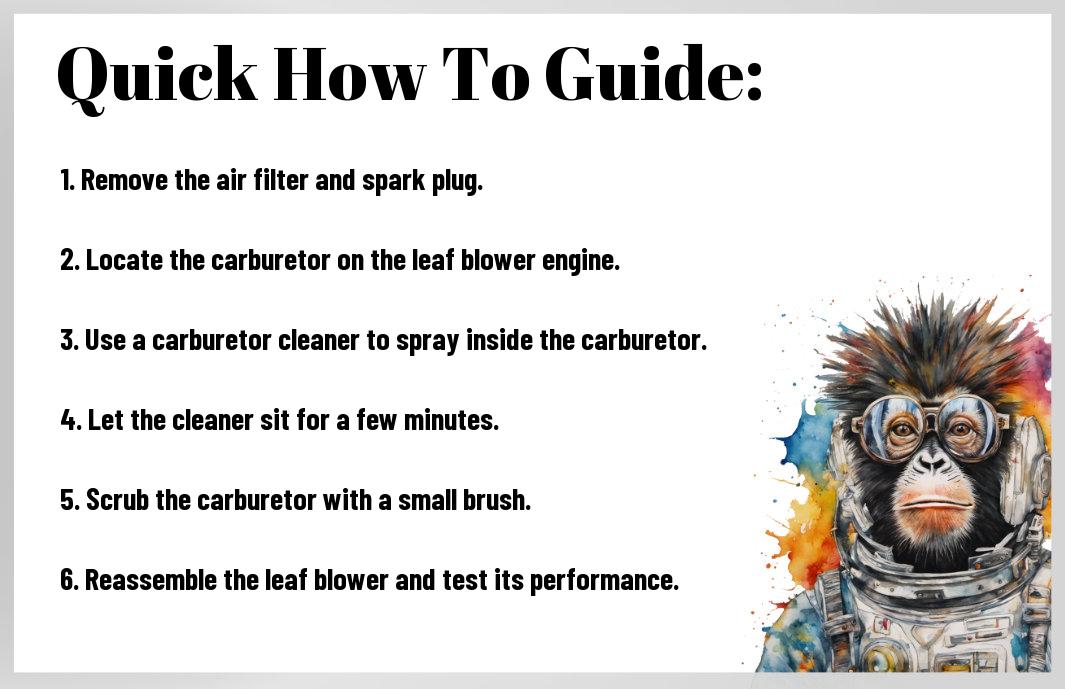
Q: What are the steps to clean a carburetor on a leaf blower?
A: The steps to clean a carburetor on a leaf blower include removing the carburetor cover, spraying carburetor cleaner, using compressed air to blow out debris, inspecting and cleaning the internal parts, reassembling the carburetor, and testing the leaf blower.